
How to grow chickpeas (chana)
A practical chickpea guide from choosing seed and checking establishment to water decisions, pod filling, staggered harvest and cleaned grain.
A chana field does not always finish together. In our Rabi 2025–26 season, three varieties, an unintended watering and greener patches left cutting, drying and threshing running alongside one another. Following those differences is part of growing the crop, long before there is a final weight to record. This guide draws on that season and offers practical checks from sowing through storage.
In this growing guide
- Begin with the field the roots will occupy
- Keep the identity of each seed lot through sowing
- Count a stand before deciding to fill its gaps
- Separate a dry surface from a dry root zone
- Keep nutrition and competition as separate questions
- Follow pods as well as flowers
- A greener patch need not hold up every mature patch
- Finish the lot before comparing the season
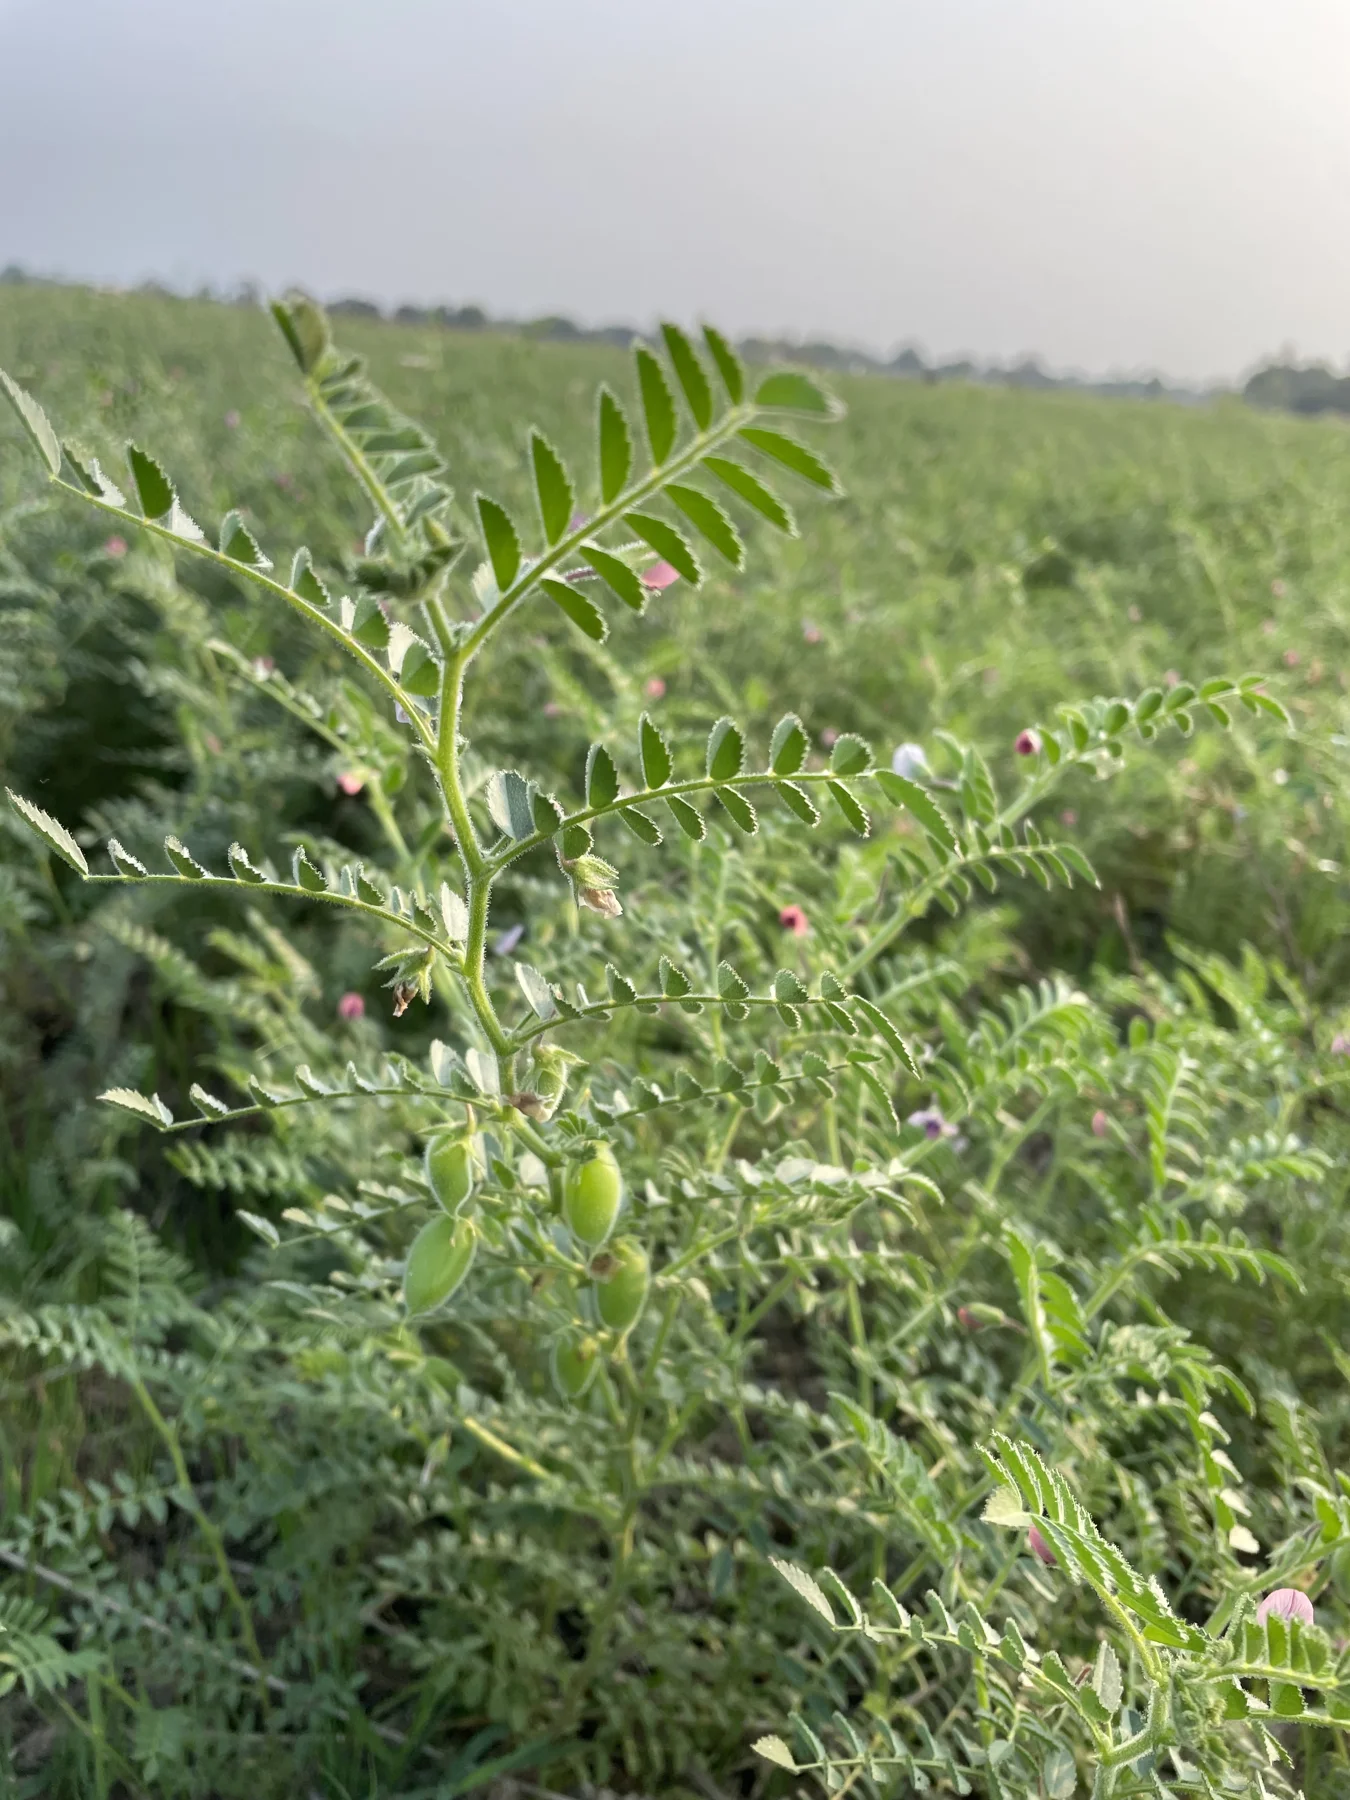
Begin with the field the roots will occupy
Walk the ground before choosing the sowing day. Follow the route water takes from adjoining irrigation, look for low pockets, and check whether the outlet actually works. A field can look dry on top while soil below remains wet. Chickpea needs drainage; its reputation as a dryland crop does not make saturated ground suitable. [1]
For a North Indian winter planting, check the current district recommendation for the intended variety and sowing situation. IIPR lists varieties against different zones, durations and timely or late sowing conditions. That is why another grower's harvest month cannot set your calendar. [2] Write down the previous crop, known problem patches and expected access to water. Keep a simple sketch: it will help you recognise whether later gaps follow a depression, an old irrigation channel or a sowing pass.
Keep the identity of each seed lot through sowing
Our season record names Daftari, Pusa Manav and Pusa 362. Keep the full seed labels when checking certification, breeder details or disease-resistance advice. Keep each packet label, lot number, source and sowing area together. If several varieties are used, mark their boundaries before the plants conceal them.
Check germination and seed size before calculating seed requirements with the locally recommended stand. Inspect the drill's outlets and run a measured calibration check with the actual seed; seed used and seed purchased belong in separate entries. After the first short pass, uncover several placements and inspect their depth and contact with moist soil. Published Indian packages differ on depth, so use the recommendation for your soil and establishment method rather than averaging numbers from unrelated guides. [1, 3]
Rhizobium inoculation belongs in the seed plan, with a chickpea-compatible product and a checked treatment sequence. TNAU explicitly distinguishes compatible biological treatments from incompatible combinations. Record the product, label and timing when treating the seed. [4]
Use the drill manufacturer’s safe calibration procedure. Stop, secure and isolate the machine before manual inspection, adjustment or approaching the tested strip. Keep clear of moving parts while the metering mechanism operates. [8]
Inoculation means introducing suitable living bacteria. Compatible rhizobia can form nodules on legume roots and convert nitrogen from the air into a form the plant can use. That partnership is biological nitrogen fixation. It does not guarantee that fixation will be effective in every field or replace the need to assess the rest of the nutrient supply. [9]
Count a stand before deciding to fill its gaps
After emergence begins, revisit fixed stretches of row in representative parts of the field. Count living seedlings over the same length and note the row spacing. This gives a comparison you can repeat, rather than a photograph chosen from the best corner. Record gaps separately from small living plants.
Open a few gaps carefully. Is seed absent, still dry, germinating below a crust, or softened and decaying? Compare with a nearby established stretch. A missed drill outlet requires a different response from a wet depression. If resowing is being considered, compare the surviving stand, remaining sowing window and likely maturity difference with local advice before putting a younger crop among older plants. [3]
Different conditions, different decisions
A gap follows one drill row
- Look for
- Check the outlet and uncover placements along that row.
- Consider the next step
- Correct the equipment fault before judging how much area needs attention.
- Return and check
- Count the affected stretch again and record any separate resowing date.
Gaps cluster in a low wet patch
- Look for
- Compare soil moisture and seed condition with adjacent higher ground.
- Consider the next step
- Restore drainage where feasible and establish whether seedlings remain viable.
- Return and check
- Recheck survival after water recedes; do not assume a second sowing will escape the same problem.
Separate a dry surface from a dry root zone
Before starting irrigation, inspect soil beneath the surface in both the stronger and weaker patches. Note recent rain, growth stage and the route water will take. ICAR's chickpea advice treats water supply and excess vegetative growth as a balance, rather than a reason for frequent watering. [1]
Give branching and developing pods particular attention when water becomes limiting; ICAR identifies branching and pod formation as irrigation stages where facilities exist. This is a stage check, not an instruction to water already-wet soil. [1]
Our burst-pipe incident brought water into chana that had not been intended to receive it. Two plots stayed green while cutting advanced elsewhere. The separate small patch that resumed leafy growth after flowering remained unexplained. Keep checking the separate patch; the pipe failure does not explain its renewed growth.
Mark a few representative locations and return after irrigation or drainage. Check how far moisture reached, whether water remains trapped and whether the same plants continue changing. Note intervening weather and other work alongside any improvement.
Different conditions, different decisions
Dry topsoil, moisture still present below
- Look for
- Compare the root zone across several locations and note crop stage.
- Consider the next step
- Reassess whether irrigation is needed now and which part would receive it.
- Return and check
- Return before the next sensitive stage or sooner if plants deteriorate.
Standing water or fresh leakage
- Look for
- Locate the inlet fault, outlet and extent of affected ground.
- Consider the next step
- Stop unintended delivery and organise appropriate drainage.
- Return and check
- Map survival and subsequent maturity separately from unaffected crop.
Keep nutrition and competition as separate questions
A legume still needs a nutrient plan. Use the soil test, previous inputs and local recommendation; ICAR directs fertiliser decisions back to the soil's nutrient status. [1] Write the exact product and quantity against the area actually treated. Pale growth in a wet patch calls for checking roots and moisture before repeating the fertiliser used on a different field.
Walk between rows while weeds are small enough to identify and remove without excessive crop disturbance. TNAU's chickpea IPM guidance stresses early weed control and conserving natural enemies. [5] Record whether competition is scattered, along an edge or widespread. Choose a suitable manual or mechanical operation for the row space and soil condition, and return to check what survived. A clean entrance can conceal a different situation deeper in the field.
Follow pods as well as flowers
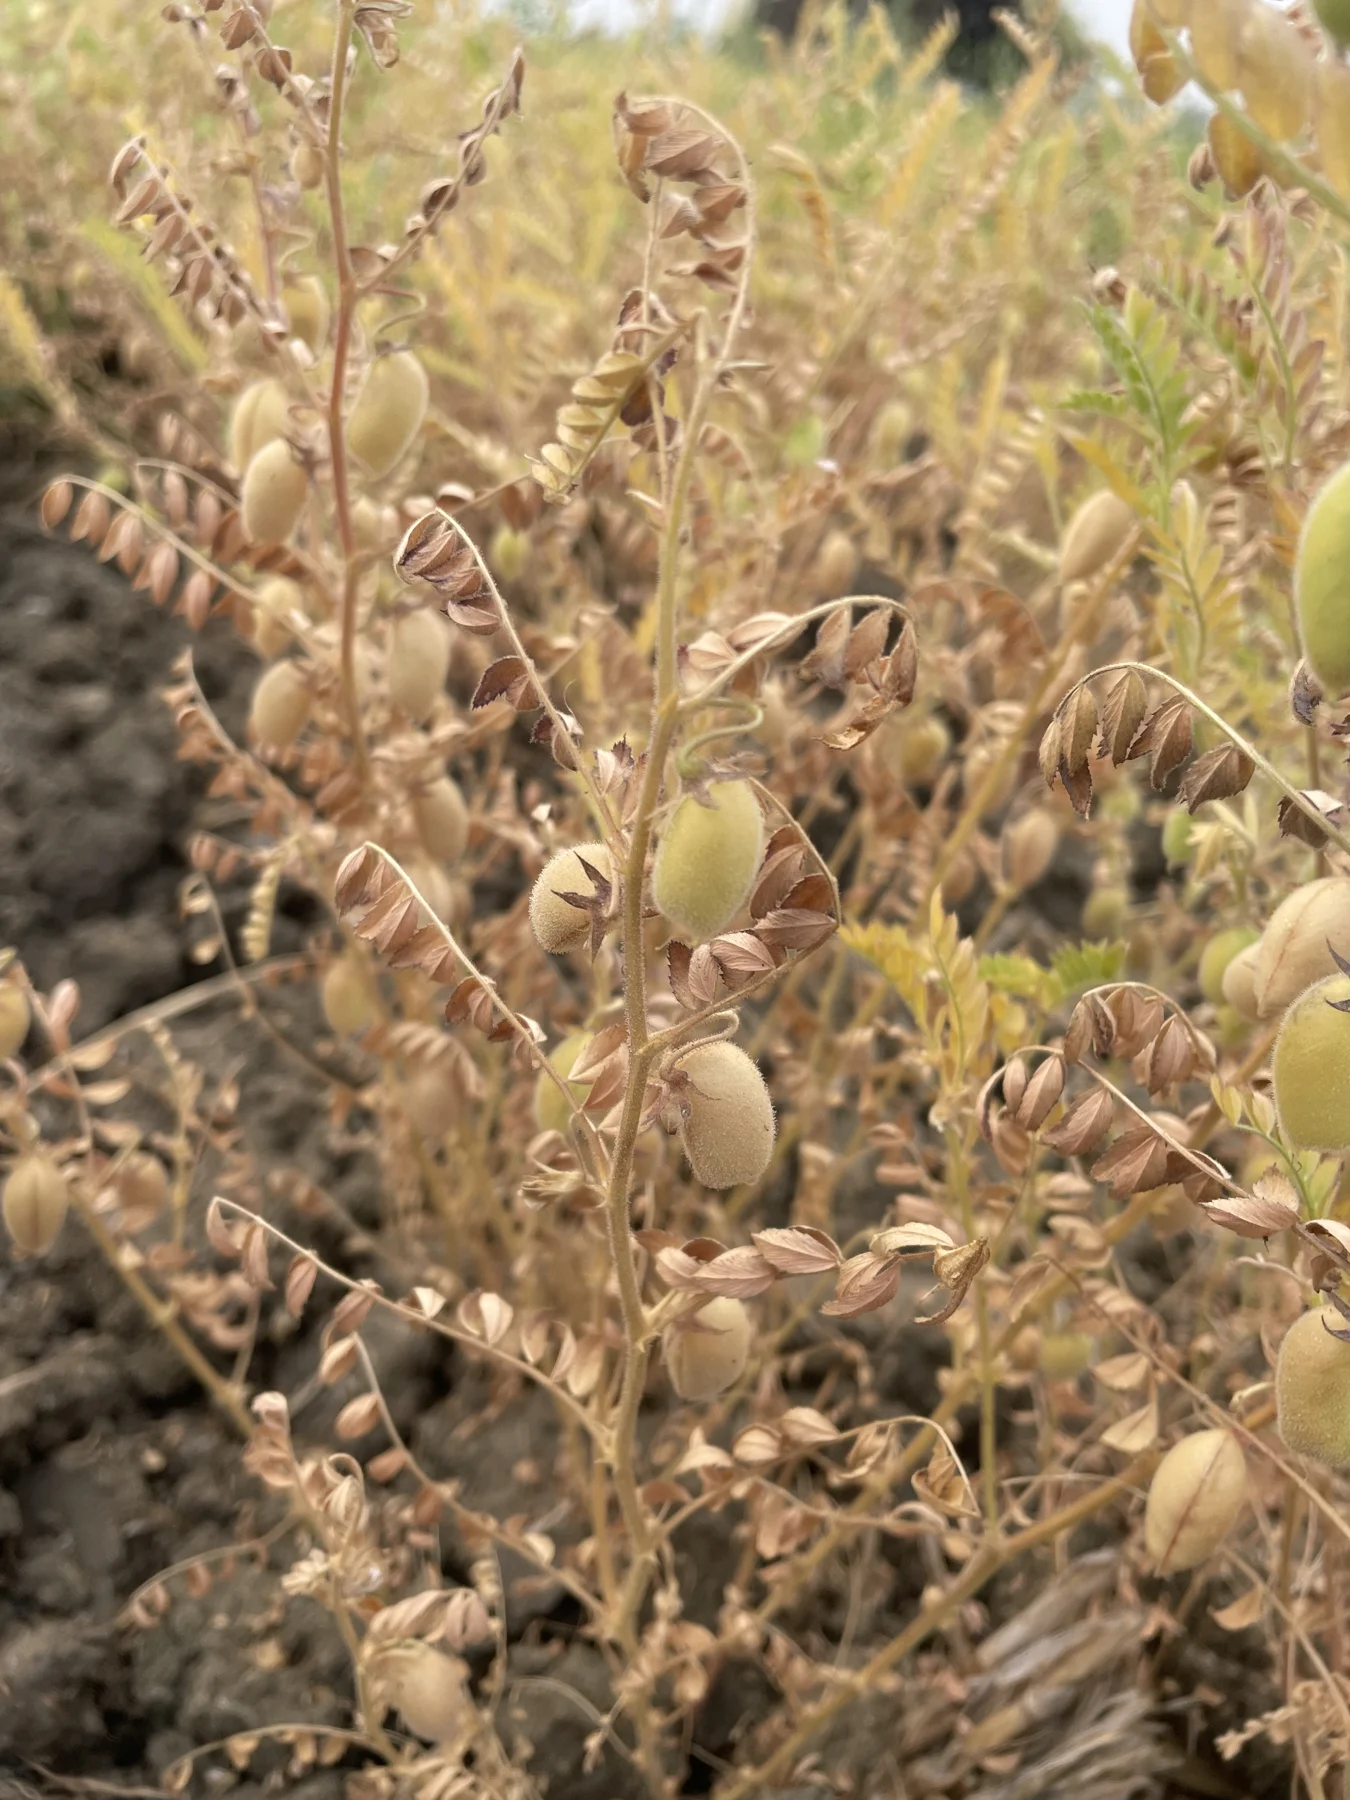
Chickpea can continue making leaves after flowering begins. Late moisture can renew growth, so green branches and older pods may share a plant. Montana State University explains this growth pattern; use local advice for seasonal timing and crop care. [6] Open a few pods from comparable plants over successive visits and distinguish developing seed from empty or damaged pods.
Look for live insects, fresh feeding, affected pods and the natural enemies nearby. The Indian IPM package bases decisions on scouting the crop and its surroundings. [3] Record how many plants or pods you examined so damage on two plants is not mistaken for a whole-field count. Photographs of a suspected pest, the injured part and the field pattern give a local adviser more to work with than a distant canopy view. Check the current local action threshold and diagnosis before selecting a treatment.
A greener patch need not hold up every mature patch
Inspect pods and seed across each variety and moisture zone as harvest approaches. Compare the proportion of mature pods, seed firmness and remaining green growth with the harvest method and forecast. Do not use leaf colour alone to declare a whole field ready. Chickpea harvest guidance recognises the need to examine maturity and handle the grain carefully. [6]
Our manual cutting began on 20 March; the final lot was threshed by 16 April. That sequence shows why separate cutting and drying lots can be useful when maturity differs. Before choosing staged harvest, arrange labels, clean drying space and a way of keeping the lots separate through threshing.
Open pods to compare the seeds themselves. In a more mature pod, seed has developed its mature colour and detached from the pod wall, so it can rattle when the pod is moved. Contrast that with soft, green, still-developing seed. Use this alongside other maturity checks when choosing a harvest method; there is no need to wait for every pod to rattle. Measure moisture separately before storage. [6]
Different conditions, different decisions
Most pods mature in one zone; another remains green
- Look for
- Compare opened pods and seed in both zones, including each variety.
- Consider the next step
- Assess cutting the ready portion separately with local harvest advice.
- Return and check
- Revisit the later portion and keep its cutting date and grain separate.
Pods look dry but handling leaves seed on the ground
- Look for
- Inspect loss before cutting and beneath handled plants.
- Consider the next step
- Reduce rough handling and review timing and equipment settings.
- Return and check
- Compare losses after the adjustment using the same sampled area.
Finish the lot before comparing the season
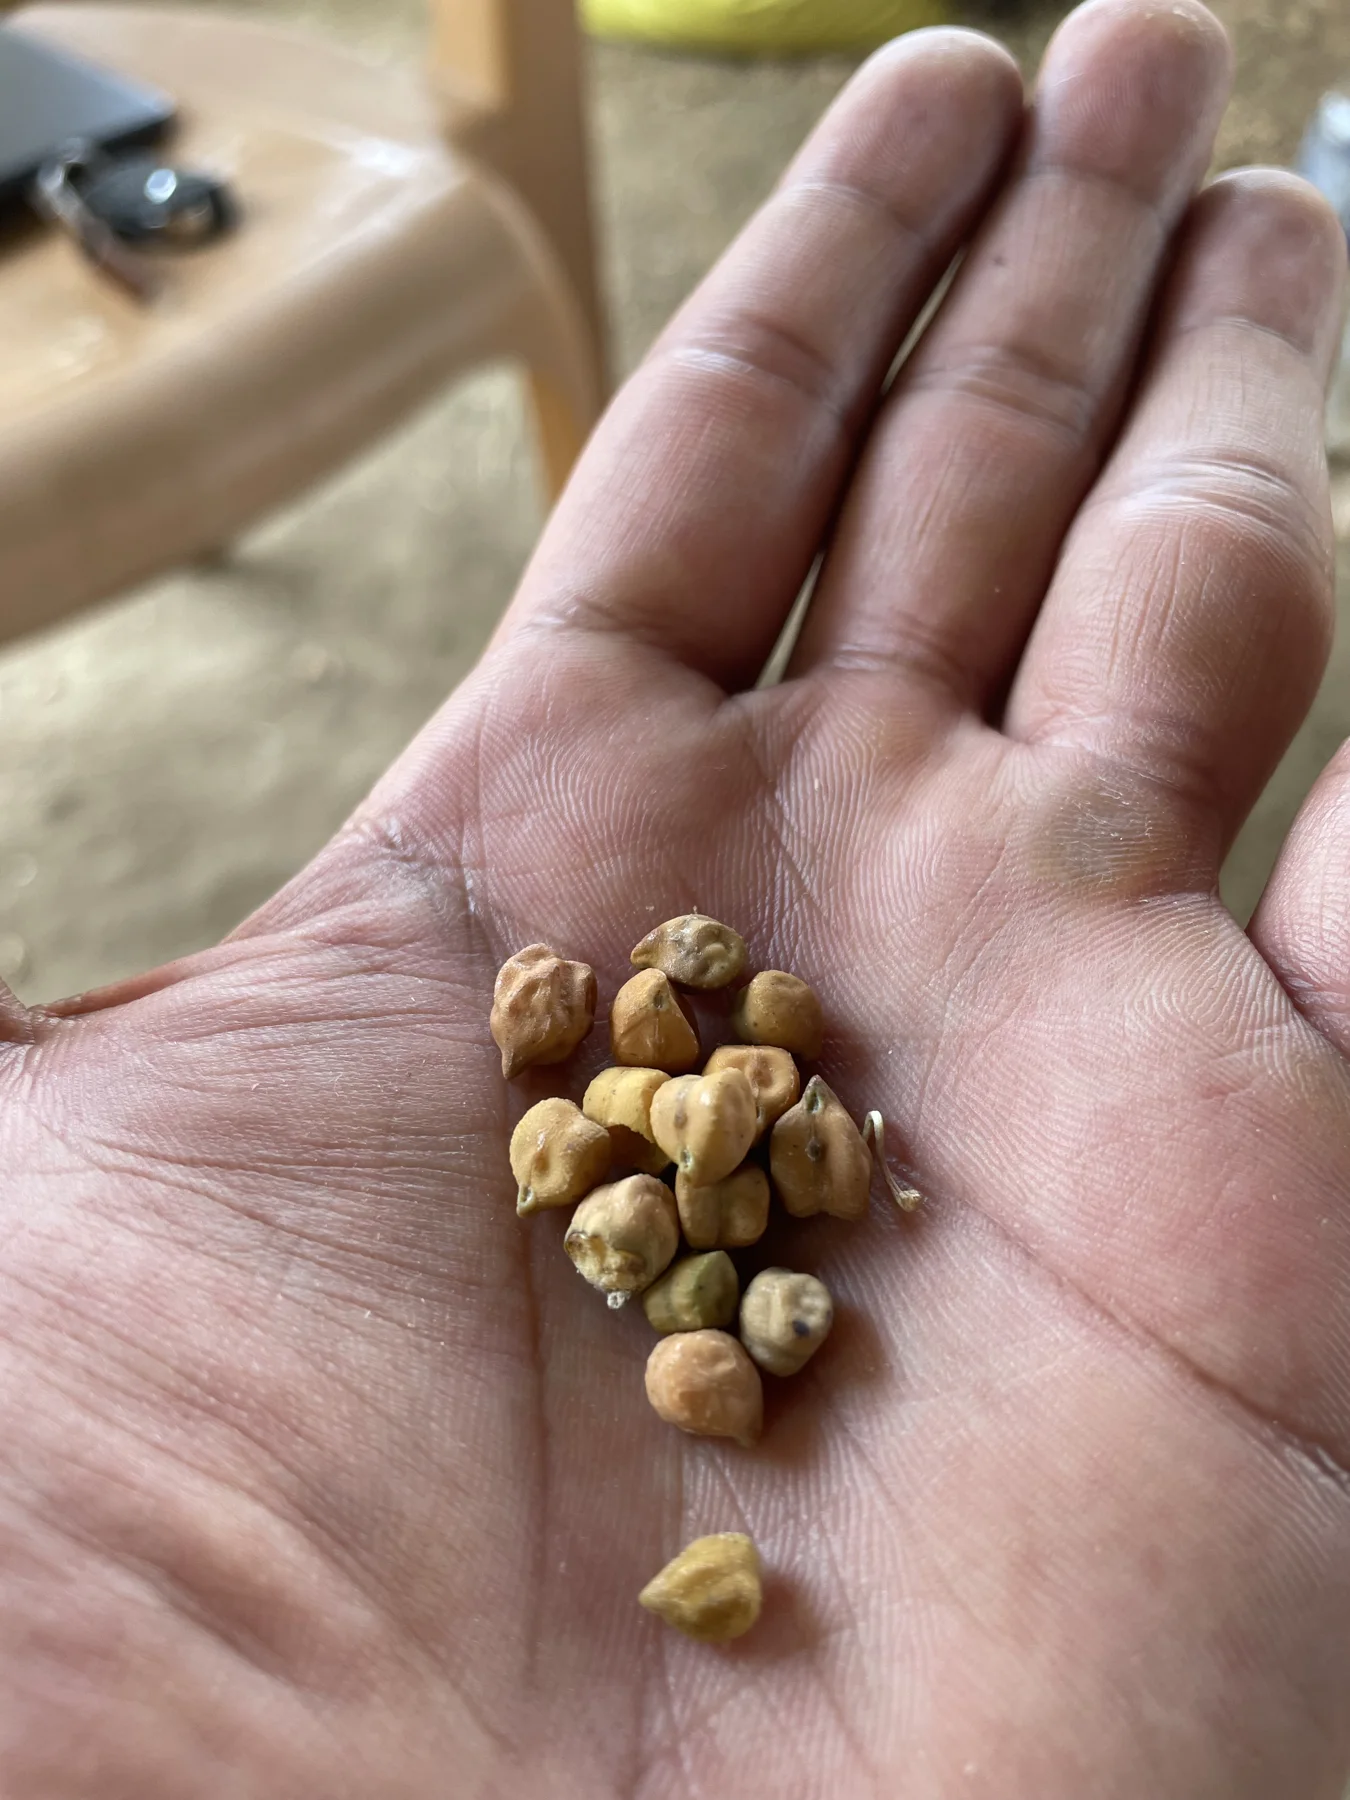
Inspect a small threshing sample for unthreshed pods, cracked seed and grain carried away with residue. Adjust the operation to what the sample shows. Keep wet or greener material separate; cleaned-looking grain still needs a moisture check before its intended storage. Use clean, dry equipment and labelled lots, then return to inspect for heating, moisture changes or insects. [6]
Threshing releases seed; cleaning removes unwanted material. Making dal adds dehusking and splitting, with further material losses. [7] Our 18 April record is 1,950 kg of cleaned whole chana across the three varieties, before dal or flour processing. Compare varieties only when their planted areas and separate grain weights are available. Keep the unexplained growth patch and the known pipe failure as questions for next season's observations, alongside the grain total.
Sources behind this guide
General guidance is drawn from the references below. Farm examples link to their own dated notes.
- ICAR, Rabi Agro-Advisory 2021–22: chickpeaAccessed 2026-10-29
- ICAR-IIPR, Technologies: chickpea varietiesAccessed 2026-10-29
- NCIPM/DPPQS/NIPHM, Integrated Pest Management for Chickpea, 2014: scouting and establishment principlesAccessed 2026-10-29
- TNAU, Bengalgram crop production: treatment compatibilityAccessed 2026-10-29
- TNAU, Chickpea IPMAccessed 2026-10-29
- Montana State University Extension, Chickpea ProductionAccessed 2026-10-29
- TNAU, Post Harvest Technology: Pulses processingAccessed 2026-10-29
- HSE · Working safely with agricultural machinery: safe stop and isolation principlesAccessed 2026-10-29
- TNAU · Biofertilizer technology: compatible rhizobia, root nodules and biological nitrogen fixationAccessed 2026-10-29