
How to grow rice: seed, water and harvest
Follow rice from seed and nursery choices through establishment, water, nutrition, weeds, leaf damage and the drying work after harvest.
Rice can stand in managed shallow water, but the depth, duration and control of that water matter. Plantings with the same variety name may also be at different stages. Keep seed identity, establishment method and observed stage together as you plan the work. On our farm we grow rice under five names: Navara, 1718, Sonam, Vishnu Bhog and Kala Namak. This guide draws on those plantings and offers practical checks for your own crop.
In this growing guide
- Choose a seed lot for the conditions it will meet
- Establishment method changes the next jobs
- Count what established before asking how green it looks
- Rice growth stages: tillering to grain filling
- Rice irrigation: growth stages and excess water
- Match nutrients to the field and the stage
- Act on identification, then check the next flush
- Open the fold and count fresh damage
- Count maturity from the right starting point
- Inspect grain and arrange drying before cutting
- A full bag still needs a moisture reading
Choose a seed lot for the conditions it will meet
Before buying seed, establish the intended local season, water supply, flood risk, establishment method and use of the grain. Ask for the full cultivar or selection name and retain the lot label. Check the full seed label before relying on maturity, resistance or nutrient guidance. We still need the full selection names for the rice we call 1718 and Sonam.
Inspect seed for admixture, damaged grain and weed seed. Test a representative sample rather than taking a handful from one convenient surface. IRRI describes repeat samples of 100 seeds on moist absorbent material, with germination recorded over time. This helps separate a poor seed lot from later field-establishment problems; it does not guarantee field emergence. [1]
Establishment method changes the next jobs
Transplanted rice begins in a nursery before seedlings are moved to the main field. Direct-sown rice establishes there from seed. Prepare the water and weed plan for the method you will actually use. NIPHM recommends clean planting material, healthy nurseries and avoiding weed seedlings during transplanting; line sowing can help later inter-row work in direct-sown rice. [2]
Check field levelling, bunds, inlets and controlled outlets before establishment. Inspect water distribution rather than assuming a level-looking field is uniform. Use the locally appropriate seedling age, spacing or seed rate for the cultivar and method. Keep nursery sowing and transplanting dates as separate entries.
Our story records Navara transplanted on 23 July 2026 and a separate 1718 block direct-sown on 13 July. Their establishment histories should remain separate when comparing growth or organising work.
Count what established before asking how green it looks
Walk a consistent route through representative positions. Count surviving hills in a fixed area in transplanted rice; in direct-sown rice, count plants in repeated equal areas and note gaps or clumps. Record weed presence and water depth beside those counts. A dense corner can conceal poor establishment elsewhere.
Revisit gaps to distinguish missing plants from slow growth before deciding on a locally appropriate correction. Keep the assessment date and area counted. Starting with a measured stand makes later comparisons more useful than judging greenness alone.
Rice growth stages: tillering to grain filling
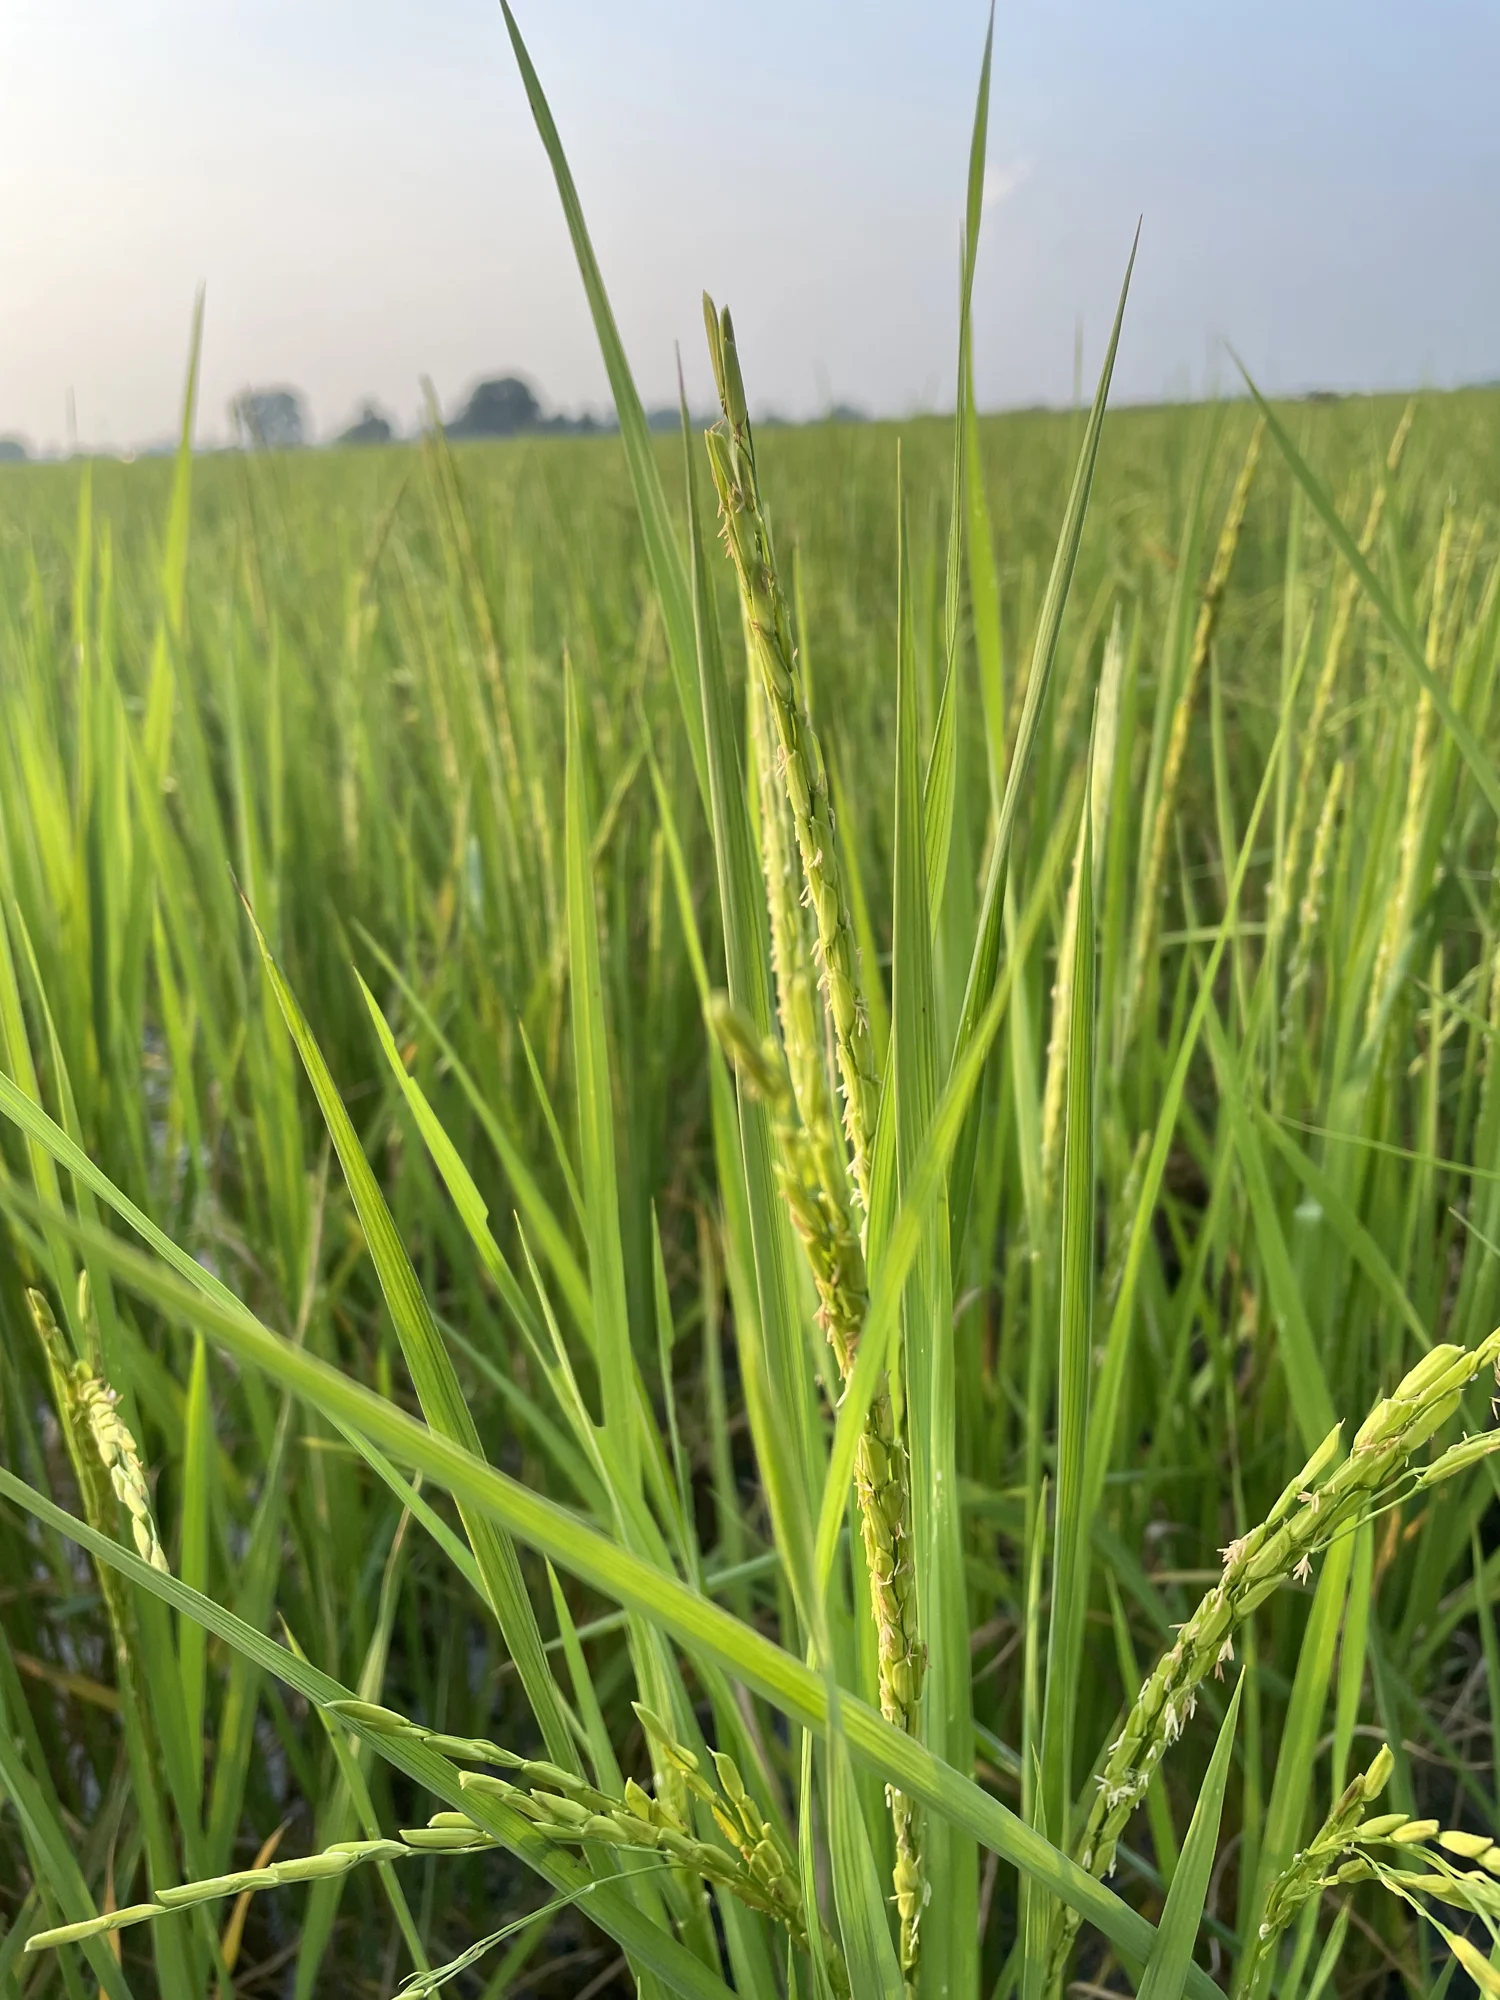
Tillering is the production of additional shoots from the plant base. Panicle initiation begins the reproductive phase before a head is visible; booting is the swelling stage while the developing panicle remains enclosed. Heading brings panicles above the leaves, followed by flowering, grain filling and ripening. IRRI describes the booting and heading distinction in detail. [12] These stages help explain why an intervention appropriate to a young crop may be irrelevant later. [3]
Record what proportion of the field has reached a visible stage. Do not write “heading complete” because the first panicles appeared. We saw uneven panicle emergence in Kala Namak and developing panicles in transplanted 1718. Keep following grain filling before judging the harvest.
Rice irrigation: growth stages and excess water
Water needs depend on establishment, soil and stage. TNAU identifies panicle initiation, booting, heading and flowering as critical water periods and calls for drainage of excess water. Use its Tamil Nadu schedules alongside advice for your own soil, seed and season. [4]
Measure water depth at more than one point and record whether water can enter and leave under control. The same supply can leave a high patch short while a low patch remains submerged. Rice tolerates managed flooding differently from banana; deep, prolonged or uncontrolled flooding still raises questions about the cultivar, stage, duration and surviving stand. TNAU describes stage-dependent effects of excess and deficient water. [5]
If considering alternate wetting and drying, first check that the field, monitoring and water supply can support it. Agree suitable drying limits and a reliable re-irrigation plan with a local adviser.
Different conditions, different decisions
Young plants remain deeply submerged after rain
- Look for
- Measure depth and duration; inspect leaves above water, outlets and the surviving stand when accessible.
- Consider the next step
- Arrange safe control of excess water with local assessment; do not apply the banana rule of removing all standing water to rice.
- Return and check
- Recount surviving plants and record new growth as water recedes.
A reproductive crop has dry patches or unreliable supply
- Look for
- Check soil moisture, inlet delivery and actual stage, including flowering.
- Consider the next step
- Prioritise an appropriate reliable water supply; do not start an unplanned drying cycle.
- Return and check
- Confirm supply at the far end and continue stage observations.
Shallow water is controlled and the crop is establishing
- Look for
- Compare depth and survival across the field, including low and high positions.
- Consider the next step
- Maintain the locally appropriate establishment plan while correcting uneven distribution.
- Return and check
- Check tillering and renewed weed emergence rather than increasing depth automatically.
Match nutrients to the field and the stage
Build the programme from soil information, earlier crops and organic inputs, seed selection, establishment method and locally appropriate targets. IRRI describes site-specific nutrient management as matching nutrient supply to particular field conditions. A label such as aromatic rice cannot supply all those details. [6]
Before a top-dressing, check previous quantities, the area still pending, water conditions and crop stage. For pale or uneven plants, compare water depth, roots, pests and stand density before assuming nitrogen deficiency. If leaf-colour tools are used, follow the locally calibrated method and cultivar interpretation. Follow product labels and local recommendations, then keep watching grain development as well as leaf colour.
By 30 September, seasonal soil-fertiliser work was complete across our paddy.
Act on identification, then check the next flush
Look early for grasses, sedges and broadleaf weeds, and for rice-like plants that do not belong to the intended crop. Note their stage and distribution before choosing hand, mechanical or locally approved chemical control. NIPHM places cultural practices and surveillance within integrated management; direct sowing changes the opportunity for inter-row weeding. [2]
Our farm calls unwanted paddy Jhanga. Check the plants themselves as well as the local name. The story records hand removal and a patch where plants were initially too short to distinguish reliably. Check plants early and revisit uncertain patches rather than waiting for weeds to grow tall. Check again before suspect plants shed seed, and prevent removed seed-bearing material from returning to the field. Keep uncertain plants for local identification without mixing them into saved seed.
Open the fold and count fresh damage
Rice leaffolder larvae fold leaves and scrape green tissue, leaving pale or whitish areas. TNAU recommends careful repeated surveillance and distinguishes vegetative from flowering-stage damage in its decision guidance. It also recognises natural enemies when considering whether chemical intervention is needed. [7]
Examine leaves across representative points, not only the worst-looking edge. Record live larvae, fresh feeding, old empty folds, affected leaves and crop stage. Damage to leaves supporting grain filling asks a different question from a few old folds in a young crop. Preserve beneficial insects and obtain locally appropriate identification and action thresholds. A photograph of a scorched-looking patch does not distinguish feeding injury from every other cause.
Treatment in Sonam was complete by 18 October. We did not count pests before and after spraying, so follow-up checks were still needed to judge control.
Count maturity from the right starting point
Navara illustrates why a duration needs its starting point. A Kerala field-study paper describes Njavara as maturing in about 60–90 days in its background discussion; TNAU’s Navara listing gives 140 days. The listings do not share a clear starting point, and we have not confirmed which duration fits our seed. Check whether a quoted duration starts at sowing or transplanting before counting the days ahead. [8, 9]
Retain seed identity and record sowing, transplanting where relevant, heading and harvest separately. Our Navara household trial was reported harvested by 18 October. For future plantings, use those trial dates alongside the full seed identity rather than choosing between the two reference durations.
Inspect grain and arrange drying before cutting
Sample panicles from different parts of the field. Inspect grain filling and the proportion turning straw-coloured, then measure moisture with an appropriate meter. FAO gives roughly 80–85% straw-coloured grains and 20–25% grain moisture as general harvest indicators. Local cultivar, shattering risk, machinery and intended seed or food use still shape the decision. [10]
Arrange transport, threshing and drying capacity before cutting. Keep varieties and lots separate through machinery and handling. Check losses behind the harvester or thresher instead of assuming all detached grain reached the bag. Avoid leaving a wet harvested crop waiting for an unavailable dryer.
A full bag still needs a moisture reading
Clean and dry paddy promptly using a method suited to the quantity, weather and intended use. IRRI explains that stored grain exchanges moisture with surrounding air: grain that was dry can become wetter again in humid conditions. Its tropical storage guidance places food grain below 14% moisture and seed below 12%; storage duration, conditions and local advice matter. [11]
Measure several representative samples after drying and cooling rather than judging by touch. Use clean, dry storage protected from rain, moisture entry and pests, with lots labelled and accessible for inspection. Check for heating, insects, mould or rising moisture. The existing grain-handling guide develops this work further.
Close the season with weighed, moisture-recorded grain and a measured harvested area if yield is needed. A trolley count or photograph cannot supply those measurements. Keep establishment gaps, weed escapes, uneven maturity and handling losses alongside the harvest record so the next planting begins with specific questions.
Sources behind this guide
General guidance is drawn from the references below. Farm examples link to their own dated notes.
- IRRI · Rice Production Manual: plant establishment and germination testingAccessed 2026-10-29
- NIPHM · Integrated Pest Management Package for Rice: cultural and mechanical principlesAccessed 2026-10-29
- FAO · Rice growth and developmentAccessed 2026-10-29
- TNAU · Rice irrigation management: stage sensitivity and controlled drainageAccessed 2026-10-29
- TNAU · Rice water management: excess and deficient waterAccessed 2026-10-29
- IRRI · Site-specific nutrient managementAccessed 2026-10-29
- TNAU · Rice leaffolder: signs, surveillance and stage-dependent decisionsAccessed 2026-10-29
- Rani and Sukumari · Njavara establishment trial in Kerala, 2016Accessed 2026-10-29
- TNAU · Traditional Navara variety listingAccessed 2026-10-29
- FAO · Yield, profit and knowledge gaps in rice farming: harvest and threshingAccessed 2026-10-29
- IRRI · Equilibrium moisture content and tropical paddy storageAccessed 2026-10-29
- IRRI · Principles and practices of rice production: morphology, growth and developmentAccessed 2026-10-29