
How to grow emmer wheat (Khapli)
Follow a hulled wheat through establishment, stand balance, lodging checks, staged harvest and the extra work of dehulling.
With Khapli, harvest is a change of form rather than the end of the work. A sack may contain wheat still enclosed by its hull, and releasing the kernels takes another operation before milling. That changes what to arrange before sowing, how to describe the harvest and which weights can be compared. Our farm season supplies a few candid examples, alongside practical checks to use as you follow your own crop.
In this growing guide
- Begin with identity and the route after harvest
- Know what is going through the drill
- Aim for an even stand that can remain upright
- Read the ground before another input
- Look closely at the fallen stems
- Cut in response to grain condition
- Keep the hull, moisture and kernel distinct
- Finish with a comparison that means something
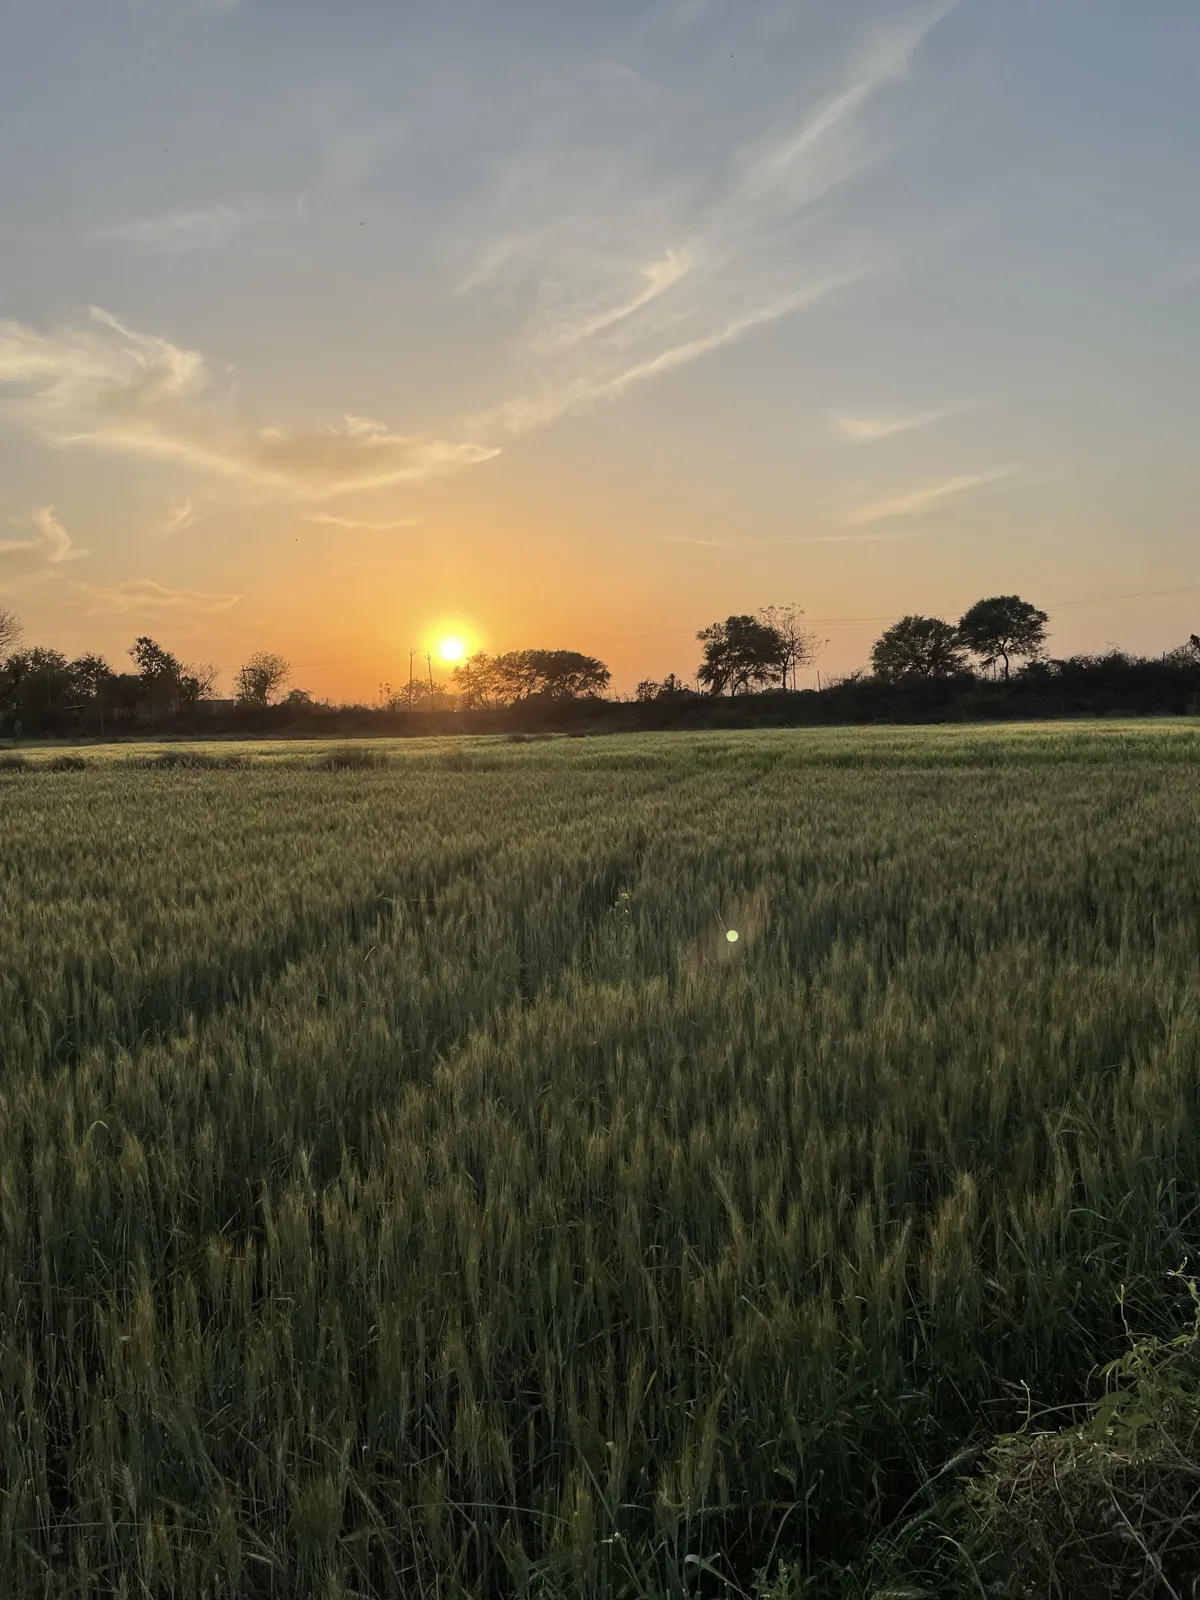
Begin with identity and the route after harvest
Khapli is a local name for emmer, Triticum turgidum subsp. dicoccum, also called dicoccum wheat. ICAR–IARI uses that identity and describes Indian growing regions; ask for the cultivar and seed-lot details, then check their suitability for your field. [1]
Emmer is hulled wheat. Unlike common free-threshing wheat, the grain normally remains enclosed after threshing and needs dehulling before milling. [2] Before planting, speak to the intended processor: will they accept hulled material, what cleaning and dryness do they need, and can their equipment handle emmer? Ask about minimum batch size and the return of kernels, broken grain and rejected material. The processing route is part of choosing the crop, particularly for a small harvest that might otherwise wait in sacks. [3]
Keep the seed source and intended food lot traceable. Khapli is wheat and contains gluten; it is not a gluten-free alternative. [4] Check food claims and likely selling prices separately when planning the crop.
Know what is going through the drill
Ask exactly what the sowing material contains: intact hulled units, partly dehulled material or bare kernels. Open a small sample to understand it, but do not assume that a bag sold by weight supplies the same number of viable seeds as common wheat. Obtain a germination test and advice appropriate to the material. Food-processing grain is not automatically fit for sowing.
Before the full field, make a practical calibration check with the actual lot and equipment. Catch the discharge from outlets over a known test run; look for bridging, uneven delivery and damage. Uncover a short planted length to check placement and seed contact. The purpose is to find a fault early, not to infer a universal seed rate from an unfamiliar seed form. Confirm sowing depth, rate and local season with a competent regional adviser for this cultivar and material. Published bread-wheat rates are not a substitute for that decision.
The Indian wheat pocket guide includes dicoccum varieties in its regional tables. Use it to understand regional differences, then check current variety advice before ordering seed. [5] Keep the lot label, test result and calibration record so later gaps can be traced back to what entered the field.
Use the drill manufacturer’s safe calibration procedure. Stop, secure and isolate the machine before manual inspection, adjustment or approaching the tested strip. Keep clear of moving parts while the metering mechanism operates. [10]
Aim for an even stand that can remain upright
Inspect drainage, previous crop residues and the seedbed before sowing. Give particular attention to low patches and areas likely to receive uneven irrigation. Record sowing separately by field or plot rather than attaching one date to every part of the farm.
After emergence, compare equal lengths in several rows. Note plants as well as bare positions, and return to those same places when tillers appear. A tiller is an additional basal shoot; count these separately from the original plants. General wheat development provides the sequence from leaves and tillers to extending stems and heads; local conditions determine its pace. [6]
Where a strip is thin, uncover a few missing positions and compare seed placement, moisture and emergence with a normal strip. Where a patch is crowded, record how it arose before planning the next season’s seed rate. Dense small-grain stands and excessive nitrogen can raise lodging risk; height or dark green leaves alone are not measures of a successful crop. [7] Avoid feeding a crowded patch merely to make it look more vigorous.
Different conditions, different decisions
Sparse emergence follows machinery lines
- Look for
- Check whether the gaps align with outlets and inspect seed placement.
- Consider the next step
- Resolve a confirmed delivery problem; ask locally whether time remains for a useful establishment correction.
- Return and check
- Recount the same lengths at the next emergence visit.
Dense patches stand beside an even crop
- Look for
- Compare plant counts, sowing method and subsequent tillers.
- Consider the next step
- Keep the patch under observation and reassess the remaining nutrient plan.
- Return and check
- Return during stem extension and after windy or wet weather.
Read the ground before another input
Walk between wetter and drier ground before deciding on water. Inspect below the surface and consider the forecast, plant stage and how the last irrigation moved. TNAU identifies crown-root initiation and flowering as important moisture-sensitive stages in wheat and warns against stagnant water during germination. Use those sensitive stages when planning checks, and get local guidance on irrigation timing for emmer. [8]
A pale wet patch and a pale dry patch ask different questions. Record moisture and plant symptoms together, restore a workable drainage route where excess water persists, and reassess before treating either patch as a nutrient shortage. Put soil-test advice beside earlier fertiliser and manure records; do not add an input simply because a neighbouring crop received it.
Scout weeds and affected leaves while moving through the stand. Record which plants or leaves are affected and whether the boundary is spreading; photograph healthy comparisons and seek identification before choosing control. IARI describes powdery mildew challenges in emmer in the southern hills. Traditional crops still need disease checks; identify symptoms locally before choosing treatment. [1] Revisit the marked patch after an advised intervention and check fresh symptoms and new growth.
Different conditions, different decisions
Dry root zone during active growth
- Look for
- Check crop stage, moisture across the patch and likely rain.
- Consider the next step
- Plan irrigation against observed need and distribution, using current local advice.
- Return and check
- Check whether the root zone was wetted evenly and when the next assessment is due.
Saturated low patch
- Look for
- Record water extent and persistence beside symptoms.
- Consider the next step
- Address excess water before adding more; investigate symptoms separately.
- Return and check
- Revisit after drainage and check new growth; inspect roots if symptoms persist.
Look closely at the fallen stems
Inspect fallen and standing plants side by side. Look for a bent or broken stem, or a plant leaning from the base; photograph the patch and direction of fall before moving plants. Note ground wetness, stand density and the recent weather. These details help an adviser work through possible causes. Cornell identifies stand density and excessive nitrogen as lodging risks, so include both in the field check. [7]
In our record, about 10% of Khapli was estimated to have lodged by 20 March 2026. The cause remained unresolved. For harvest planning, compare the maturity and dampness of heads close to the ground with those still upright. Mark them as separate checking areas rather than assuming that all lodged grain should be cut at once.
Different conditions, different decisions
Heads remain upright
- Look for
- Check representative kernels and access for cutting.
- Consider the next step
- Plan the standing lot around its own maturity and weather exposure.
- Return and check
- Repeat checks as grain hardens.
Heads lie close to the ground
- Look for
- Check grain maturity, dampness, soil contact and stem failure.
- Consider the next step
- Assess a separate harvest and drying route where needed; avoid mixing damp material into dry grain.
- Return and check
- Return after rain and before cutting, comparing the same lodged and standing areas.
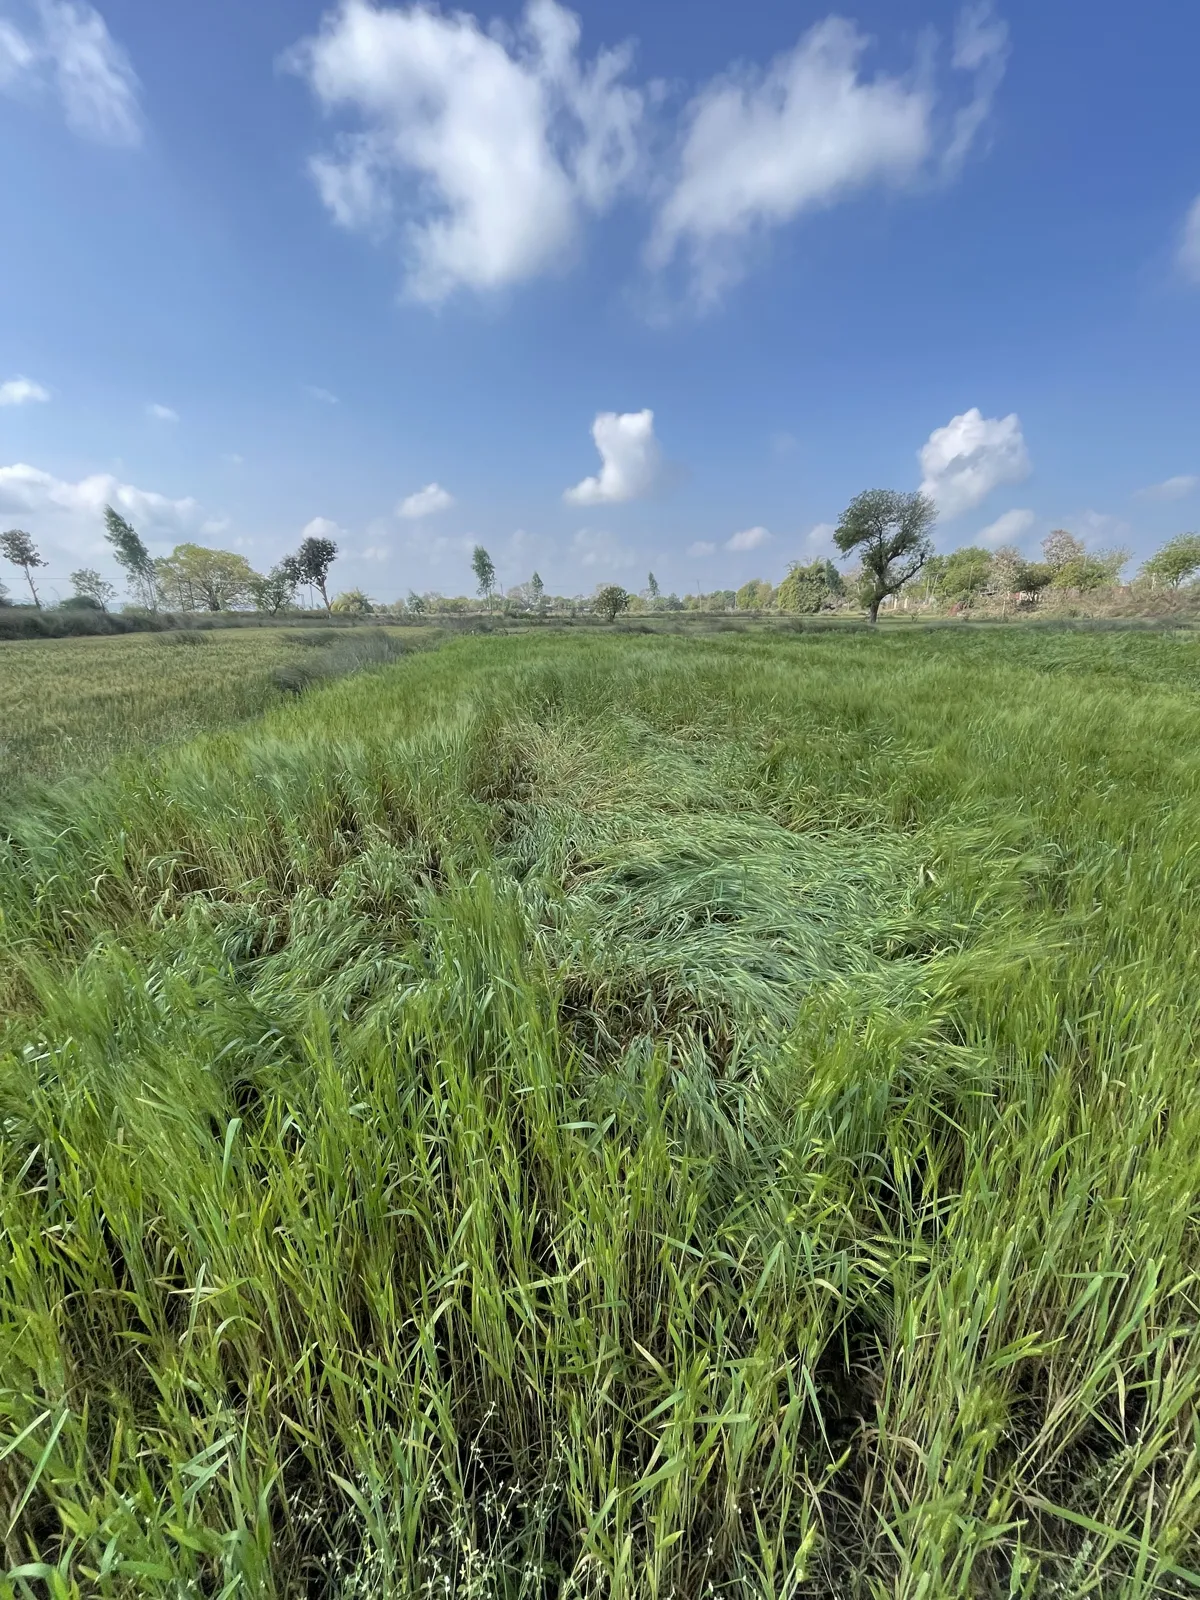
Cut in response to grain condition
Check heads from different parts of the crop, including lodged and later patches. Open the enclosing material and inspect the kernels: hardening grain provides information that a golden canopy cannot. Match harvest timing to weather and the ability to dry, thresh and handle that lot. General wheat harvest guidance uses hard grain and drying straw, but the extra hull must remain visible in the handling plan. [8]
Our 9 April entry reported roughly 70% cut. Some grain felt hard, while we questioned whether part had been cut early; cut stalks were left to dry. Readiness still varied across the crop. Keep cutting, drying and threshing dates distinct. Record each lot’s condition rather than allowing the first harvested portion to define the rest.
Keep the hull, moisture and kernel distinct
Arrange clean drying space and keep damp lots apart from drier ones. Hulls, straw fragments and kernels make a mixed sample difficult to interpret: ask the tester whether the method is valid for hulled emmer, rather than applying a bare-wheat meter setting without checking. Record what was sampled and which processing state the result describes.
Before storage, agree the moisture specification for that material, intended duration and store with the processor or qualified local service. Inspect bags and containers for insects, moisture and changing smell; keep identifiable lots accessible for repeat checks. FAO’s storage principles support sampling individual lots and keeping suspicious material separate. Check the kernel as well as the hull for dryness. [9]
Trial a small processing batch before committing all the grain. Dehulling separates the enclosing hull; it is not the same operation as removing bran to make refined flour. Inspect the cleaned output for remaining hulled units and broken kernels and ask the operator which settings or extra passes are justified. Equipment, moisture and grain characteristics affect recovery; repeated passes can add damage. The US dehulling project describes testing and weighing batches; use your own trial to estimate recovery. [3]
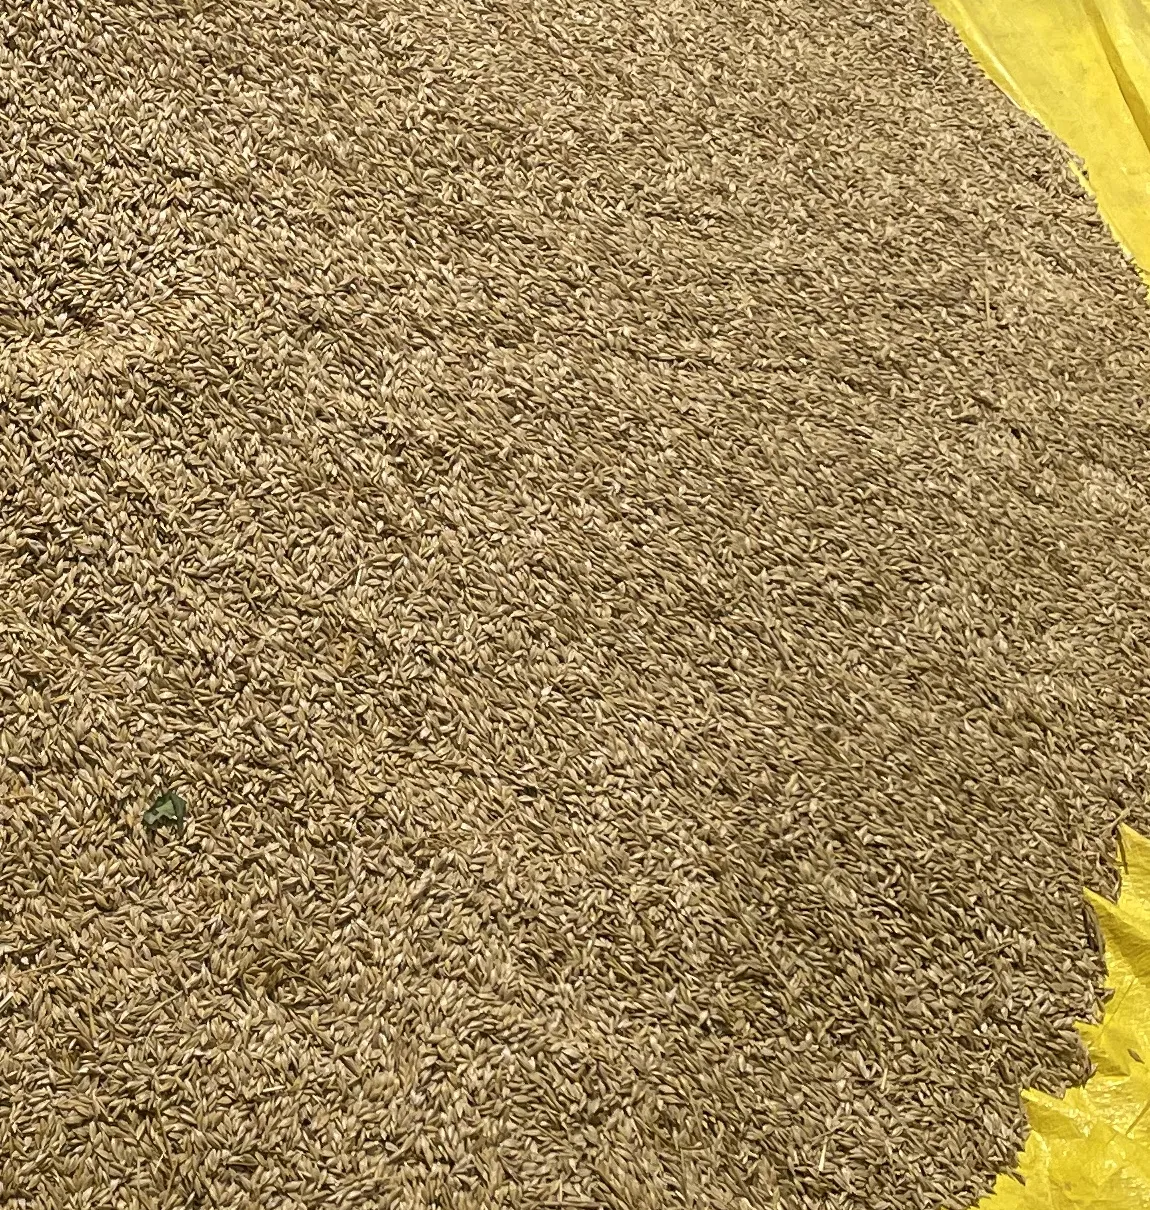
Finish with a comparison that means something
Write the material beside every weight: hulled harvest, cleaned grain, screenings or flour. Record matched input and output from the same batch and the same weighing basis. On 18 April the farm recorded 510 kg of hulled Khapli. A later, separate 54 kg hulled batch returned 32.5 kg of cleaned grain: 32.5 ÷ 54 × 100 is approximately 60.2%. That result is for this batch. It is neither recovery for all 510 kg nor flour yield.
The difference includes hulls, removed material and any processing losses; it is not all wasted edible grain. Nor can the recorded harvest establish field yield without the corresponding harvested area and reliable weights. Keep processing observations alongside the batch record so the next trial can answer a specific question. The hulled-wheat article explains this distinction further.
Different conditions, different decisions
Crop is ready to cut
- Look for
- Inspect kernel maturity across representative heads.
- Consider the next step
- Harvest into an identified lot with a drying route.
- Return and check
- Measure its condition again before storage.
A hulled lot is ready for storage or processing
- Look for
- Check the agreed moisture method, lot condition and intended next operation.
- Consider the next step
- Keep its identity through dehulling and weigh outputs separately.
- Return and check
- Recheck stored condition and inspect the first processed output before continuing.
Sources behind this guide
General guidance is drawn from the references below. Farm examples link to their own dated notes.
- ICAR–IARI, Nilgiri Wheat News 11, pp.38–39Accessed 2026-10-29
- Penn State, Ancient Grains: EmmerAccessed 2026-10-29
- eOrganic USDA-funded project, Dehulling Ancient GrainsAccessed 2026-10-29
- Health Canada, Wheat and TriticaleAccessed 2026-10-29
- ICAR–IIWBR, Wheat Cultivation in IndiaAccessed 2026-10-29
- University of Minnesota Extension, wheat growth and developmentAccessed 2026-10-29
- Cornell CALS, fertilizers for small grainsAccessed 2026-10-29
- TNAU, wheat after cultivationAccessed 2026-10-29
- FAO, prevention of post-harvest grain losses: store managementAccessed 2026-10-29
- HSE · Working safely with agricultural machinery: safe stop and isolation principlesAccessed 2026-10-29